10 Best Exercises After Hip Replacement to Do at Home
Published
Local Physiotherapist - Lizzie Thornton, Staffordshire Moorlands & Cheshire East
Exercise is the single most important factor in successful hip replacement recovery. These ten exercises form the foundation of an effective home rehabilitation programme, progressing from early post-operative movements to advanced strengthening.
Before you start
Important: Always follow your surgeon's specific advice and any hip precautions you have been given. These exercises are general guidelines and should be adapted to your individual needs. If you experience sharp pain, stop the exercise and consult your physiotherapist or surgeon.
General principles
- Start exercises from day one after surgery
- Perform exercises 3-4 times daily in the first few weeks
- Quality matters more than quantity
- Progress gradually week by week
- Some discomfort is normal; sharp pain is not
Weeks 0-2: Early post-operative exercises
1. Ankle pumps
Purpose: Prevent blood clots and reduce swelling
How to do it:
- Lie on your back or sit with legs extended
- Point your toes away from you
- Pull your toes back towards you
- Repeat 10-15 times every hour while awake
Tips: This is your most important exercise in the first few days. Do it frequently, even if you are doing nothing else.
2. Quadriceps sets (static quads)
Purpose: Maintain thigh muscle strength and prevent muscle wasting
How to do it:
- Lie on your back with legs straight
- Tighten the muscle on the front of your thigh
- Push the back of your knee down into the bed
- Hold for 5 seconds
- Relax and repeat 10 times
Tips: You should see your kneecap move upwards when you tighten the muscle. This exercise can be done anywhere, anytime.
3. Gluteal squeezes
Purpose: Strengthen buttock muscles essential for walking and stability
How to do it:
- Lie on your back with legs straight
- Squeeze your buttocks together
- Hold for 5 seconds
- Relax and repeat 10 times
Tips: Imagine you are holding a coin between your buttocks. This exercise helps protect your new hip joint.
Weeks 2-6: Building strength and range
4. Hip abduction (lying)
Purpose: Strengthen the muscles on the outside of your hip
How to do it:
- Lie on your back with legs straight
- Keep your toes pointing upwards
- Slide your operated leg out to the side (about 30cm)
- Slide it back to the middle
- Repeat 10 times
Tips: Keep your leg straight and toes pointing to the ceiling. Do not let your leg roll outwards.
5. Hip extension (lying)
Purpose: Strengthen buttock and hamstring muscles
How to do it:
- Lie on your front (if comfortable and allowed)
- Keep your leg straight
- Lift your operated leg a few inches off the bed
- Hold for 3 seconds
- Lower slowly and repeat 10 times
Alternative (if you cannot lie on your front): Stand holding a surface for support, lift your leg straight backwards, keeping your knee straight.
6. Standing hip abduction
Purpose: Functional strengthening for walking and balance
How to do it:
- Stand holding onto a worktop or stable surface
- Keep your body upright (do not lean)
- Lift your operated leg out to the side
- Keep your toes pointing forwards
- Lower slowly and repeat 10 times
Tips: Quality over quantity. A small, controlled movement is better than a large, wobbly one.
Weeks 6-12: Advanced strengthening
7. Mini squats
Purpose: Strengthen thighs, hips, and improve functional ability
How to do it:
- Stand holding onto a worktop with feet hip-width apart
- Bend your knees slightly (about 30 degrees)
- Keep your back straight and weight through your heels
- Straighten back up
- Repeat 10 times
Tips: Start small and gradually increase the depth as you get stronger. Imagine sitting back into a chair.
8. Step-ups
Purpose: Functional strength for stairs and daily activities
How to do it:
- Start with a small step (10-15cm high)
- Place your operated leg on the step
- Push through that leg to step up
- Step back down slowly
- Repeat 10 times
Tips: Use a rail for balance initially. Progress to a higher step as you get stronger.
9. Single leg balance
Purpose: Improve balance and hip stability
How to do it:
- Stand near a worktop for safety
- Lift your non-operated leg slightly off the ground
- Balance on your operated leg
- Hold for 10-30 seconds
- Repeat 3-5 times
Progression: Start holding the worktop with both hands, then one hand, then fingertips, then no hands. Eventually, try with eyes closed.
10. Sit-to-stand
Purpose: Essential functional movement for daily life
How to do it:
- Sit on a firm chair (not too low)
- Shuffle forward to the edge
- Lean forward slightly
- Push through your legs to stand
- Lower back down slowly
- Repeat 10 times
Progression: Start with a high chair or cushions. Gradually lower the height. Eventually, try without using your hands.
How often should you exercise?
Weeks 0-2
Exercises 1-3: 3-4 times daily
Walking: Short distances, multiple times daily
Weeks 2-6
Exercises 1-6: 2-3 times daily
Walking: Gradually increasing distance
Weeks 6-12
Exercises 4-10: Once or twice daily
Walking: 20-30 minutes daily
Weeks 12+
Continue strengthening exercises 3-5 times weekly
Add general fitness activities as cleared by your surgeon
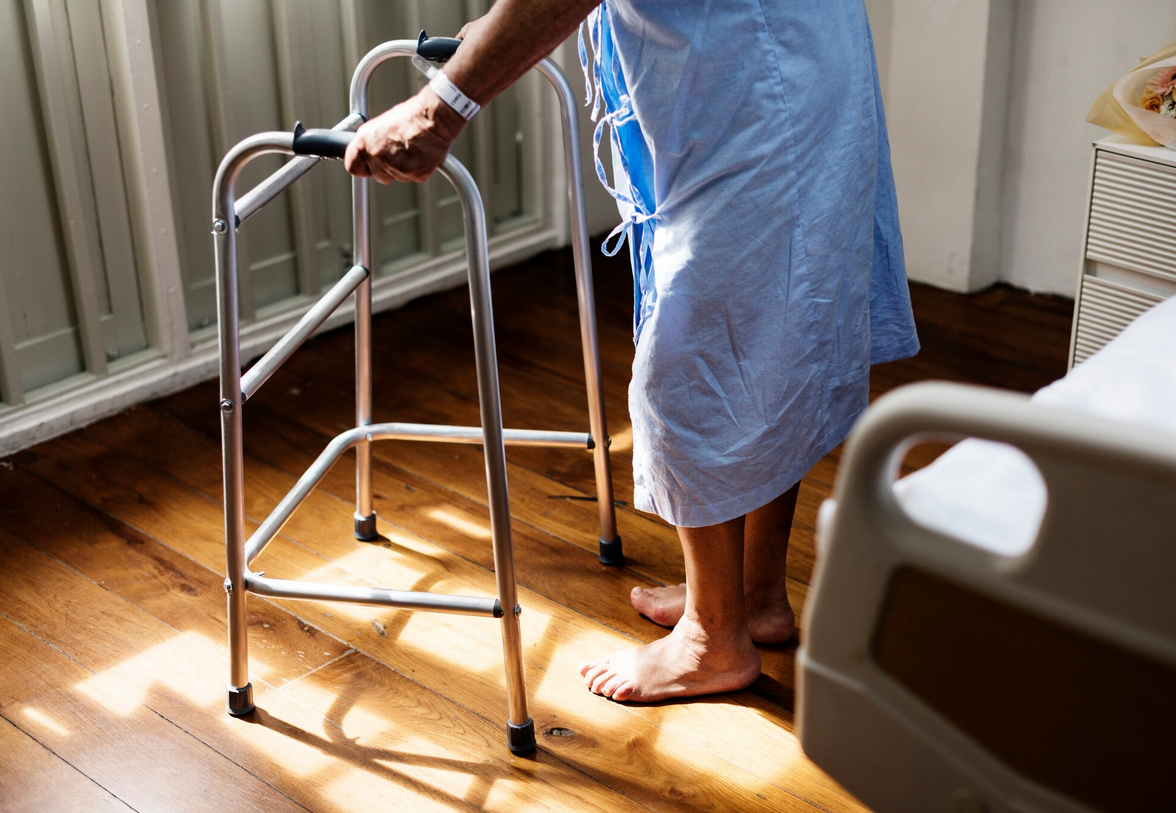
Walking: Your most important exercise
Walking is crucial for hip replacement recovery. It helps:
- Restore normal movement patterns
- Build endurance
- Reduce stiffness
- Improve circulation
- Boost mood and confidence
Walking progression guide
- Week 1-2: Short walks (2-5 minutes) multiple times daily with walking frame
- Week 3-4: 5-10 minutes, 3-4 times daily, progressing to crutches or stick
- Week 5-6: 10-15 minutes, 2-3 times daily, reducing walking aids
- Week 7-12: 20-30 minutes daily, aiming to walk unaided
- Week 12+: Continue building distance and speed
Common mistakes to avoid
- Doing too much too soon: This causes excessive swelling and pain
- Skipping exercises: Consistency is more important than intensity
- Poor technique: Quality matters more than quantity
- Ignoring pain signals: Sharp pain means stop
- Stopping exercises too early: Continue for at least 6 months
When to progress your exercises
Progress to the next level when:
- Current exercises feel easy
- You can complete all repetitions without excessive fatigue
- You have no increase in pain or swelling
- Your surgeon or physiotherapist advises progression
Adding resistance
Once exercises become easy (typically 8-12 weeks post-surgery), add resistance using:
- Resistance bands: Excellent for hip abduction and extension
- Ankle weights: Start with 0.5-1kg, gradually increase
- Body weight: Progress to more challenging variations
The role of professional physiotherapy
While these exercises form a solid foundation, Hip & Knee Replacement Rehabilitation ensures:
- Correct exercise technique
- Appropriate progression for your stage of recovery
- Identification and correction of movement problems
- Hands-on treatment if needed
- Personalized programme for your specific goals
- Motivation and accountability
Warning signs to stop exercising
Stop exercising and seek medical advice if you experience:
- Sharp, severe pain
- Sudden giving way or instability
- Significant increase in swelling
- Warmth or redness around the hip
- Feeling unwell or feverish
The bottom line
These ten exercises provide a comprehensive home rehabilitation programme after hip replacement. The keys to success are:
- Start early (day one post-surgery)
- Be consistent (daily exercises)
- Progress gradually (week by week)
- Focus on quality (good technique)
- Be patient (recovery takes months)
- Keep going (continue for 6-12 months)
Remember, your exercise programme is the most important factor in determining your long-term outcome. The effort you put in now will pay dividends for years to come.
Want personalized exercise guidance?
Our Hip & Knee Replacement Rehabilitation service provides tailored exercise programmes, technique correction, and progression planning for hip replacement recovery. We visit you at home, making rehabilitation convenient and effective.

About Lizzie Thornton
Lizzie Thornton is a specialist community physiotherapist with over 15 years of experience in post-operative rehabilitation. She is HCPC registered and a member of the Chartered Society of Physiotherapy. Lizzie has designed and delivered hundreds of hip replacement rehabilitation programmes through home physiotherapy visits across Staffordshire Moorlands and Cheshire East.